
Below is a video showing how to process MMF parts that arrive as “one-piece” (all connected to a plastic matrix)
Below are written directions for processing MMF parts that arrive as “one-piece” (all connected to a plastic matrix)
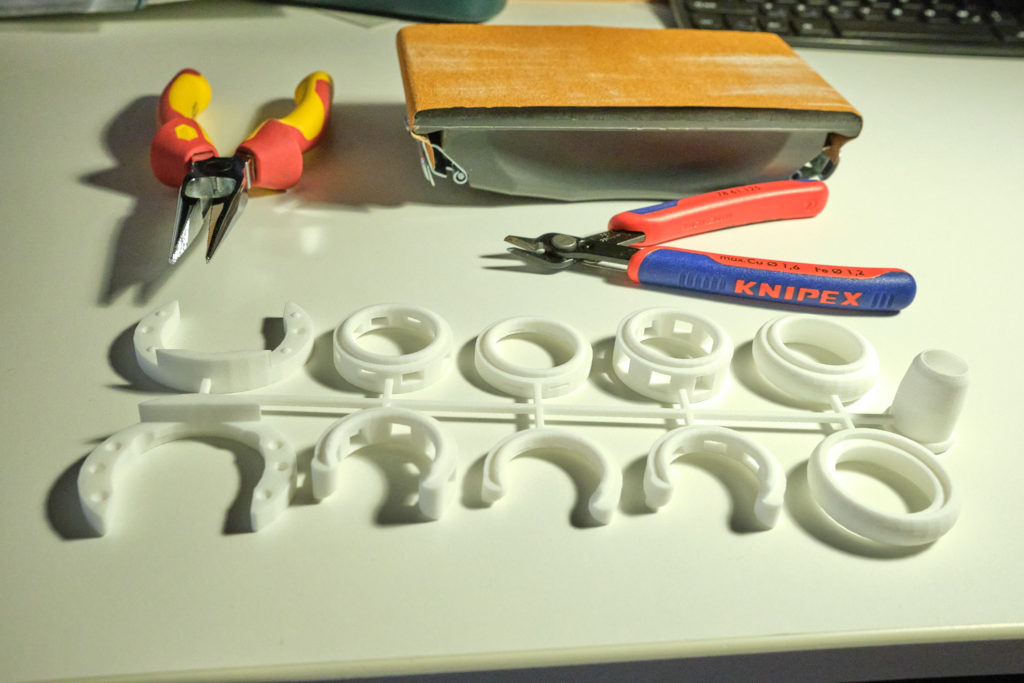
- Parts will arrive connected on a plastic matrix [as below]
- You will need a sharp cutting tool (wire cutters) and sandpaper (coarse and fine) [as below]
- If you have a Dremel tool, that would be useful as well
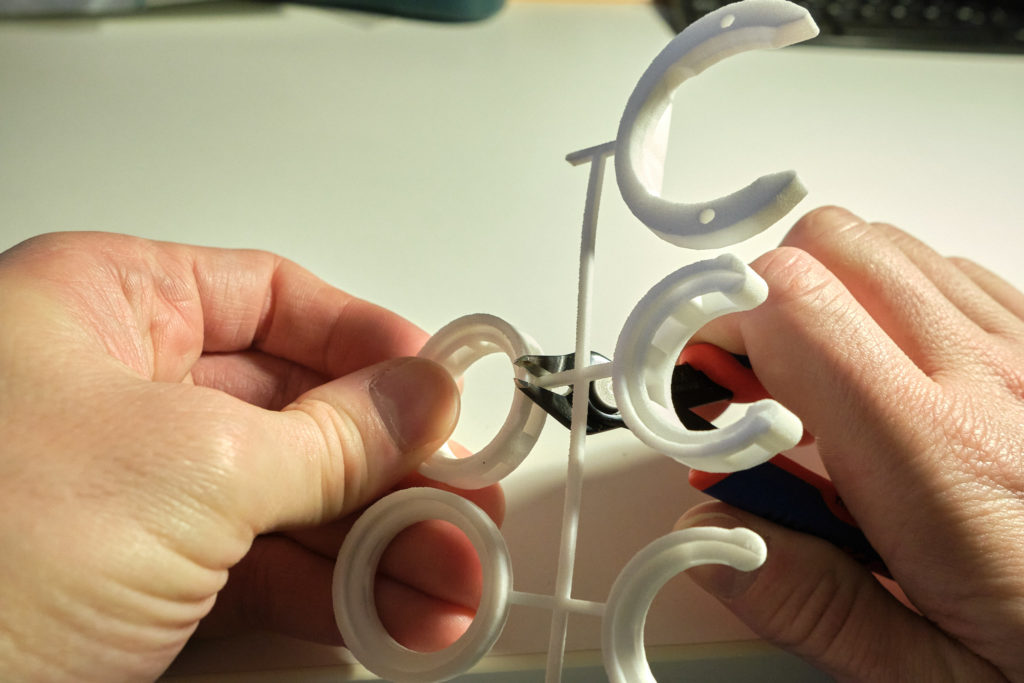
- First cut MMF parts away from the plastic matrix
- Be sure to cut as CLOSE to the MMF part as possible (as this will reduce sanding) [as below]
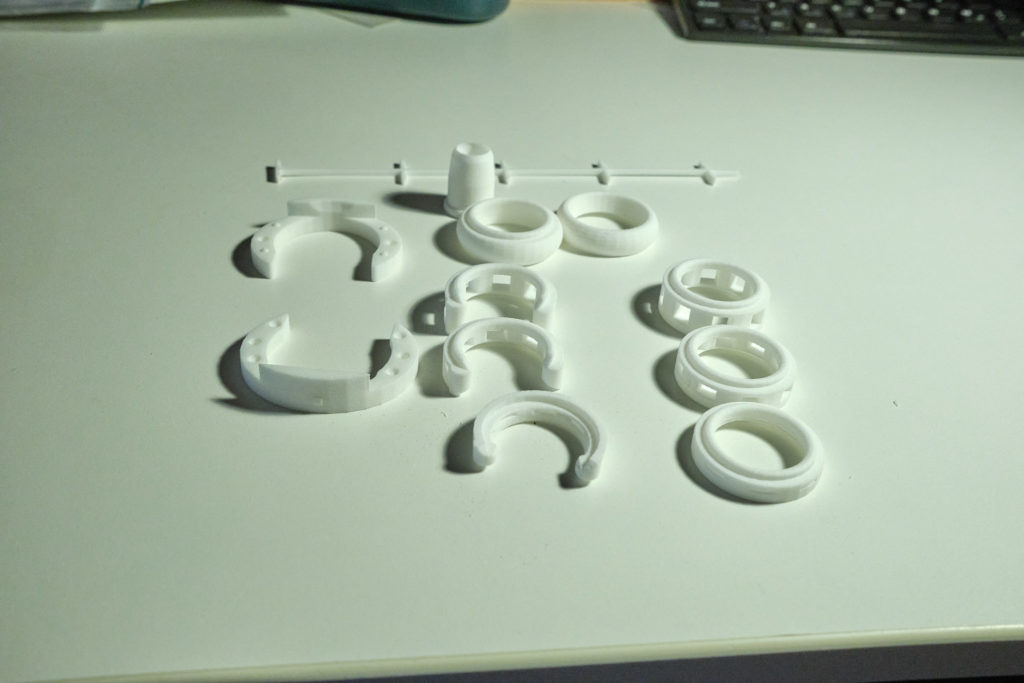
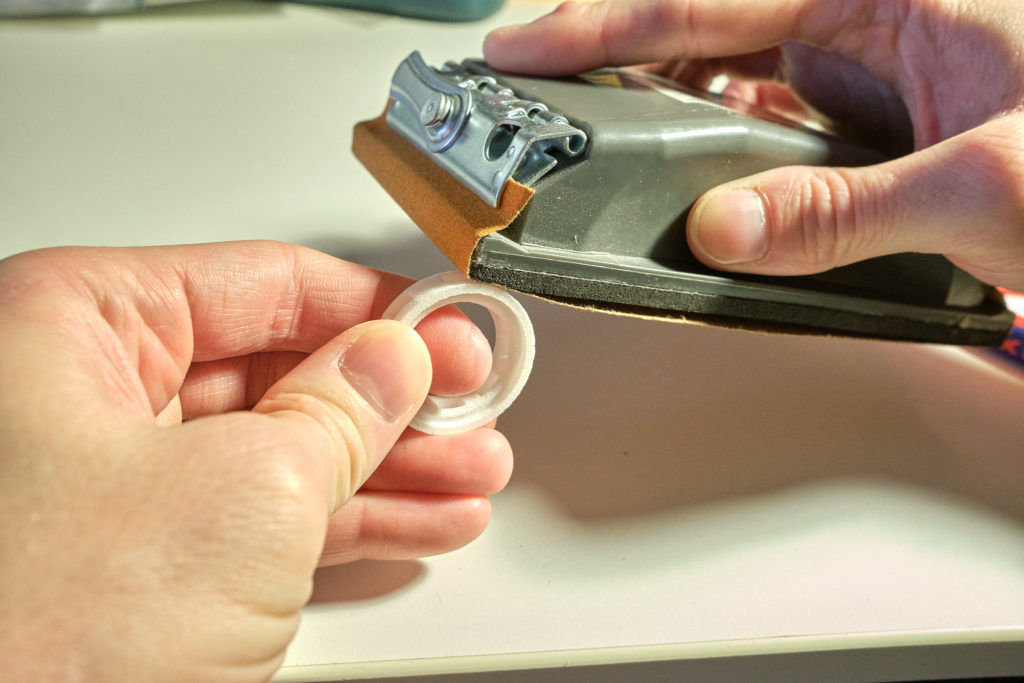
- Once all parts are removed from the plastic matrix, use either coarse sandpaper (or even better, a Dremel tool) to sand away any burs. You want these areas to be as smooth as possible. First use coarse sandpaper (or Dremel), then some fine sandpaper. [as below]
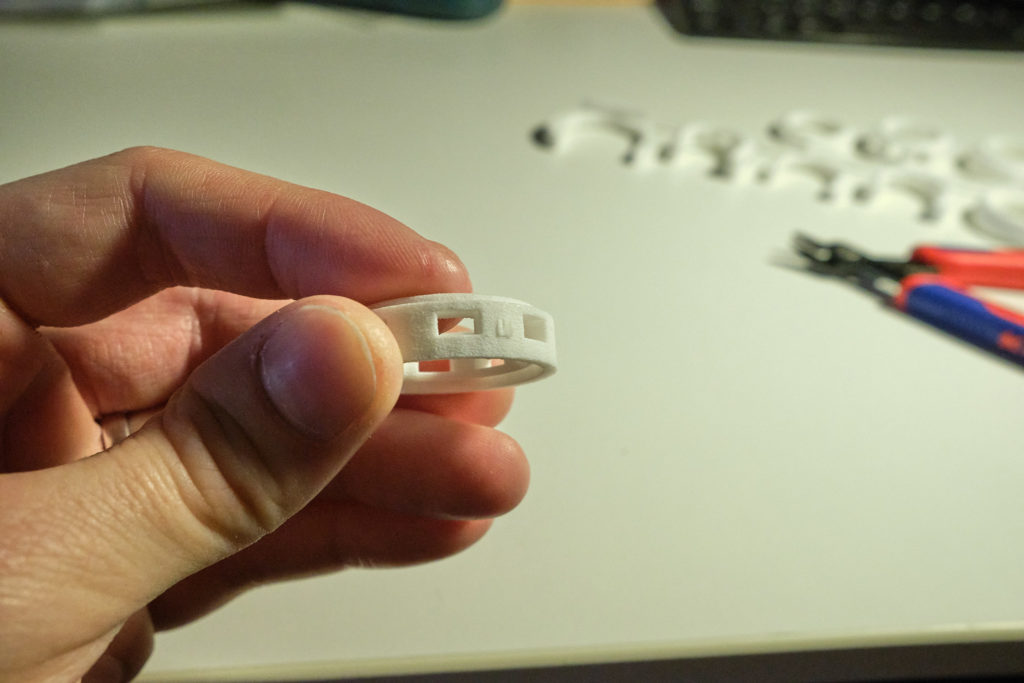
- After sanding/smoothing any burs, you should use some fine sandpaper to lightly sand any areas of the the MMF parts that will come in contact with your skin. These include: the outer portion of the Tensioning Plug and the inner portion of the Set Rings (full rings) and Expansion Rings (split rings). I normally tumble parts (for 6hs) in ceramic beads to smooth them out. [not shown]
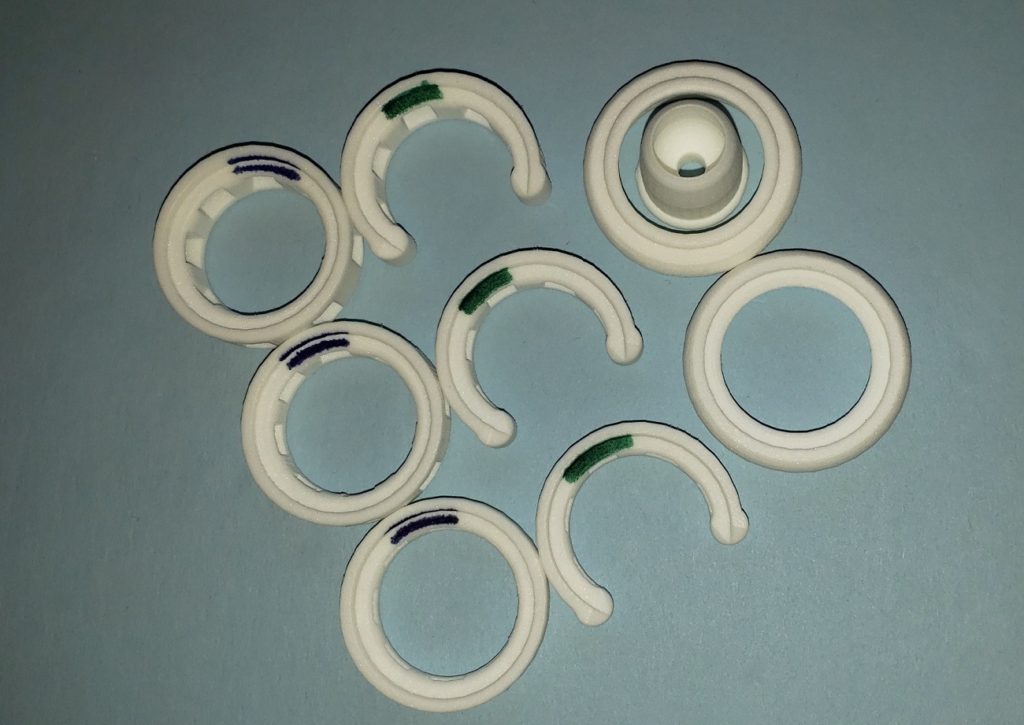
- Also, since MMF users (and myself) often refer to the Set Rings (full rings) as “the blue rings” and the Expansion Rings (split rings) as “the green rings” (since they are typically colored as such), you might want to consider using a blue and green sharpie marker to put small markings on them. A line in the “recess” on the “female” side of the rings works well [as below]
If you happen to purchase an MMF set that comes with the strapping ring, beyond the above (cutting/sanding, etc), you will also need to assemble this component of the the MMF system.
It is pretty straightforward
- Supplies are: The two (2) parts of the strapping ring (shown in yellow – below), a shoe lace/cord (the one I use can be found at the link below), a ruler and a pair of scissors.

—> Shoelace (kiwi, men’s dress, 30″ 4-5 (link below)
https://www.target.com/p/men-s-kiwi-select-dress-round-waxed-laces-30/-/A-80201492
- Align the two (2) strapping ring parts together (you will see that one side has a “female” recess for the “male” bumps on the other side).
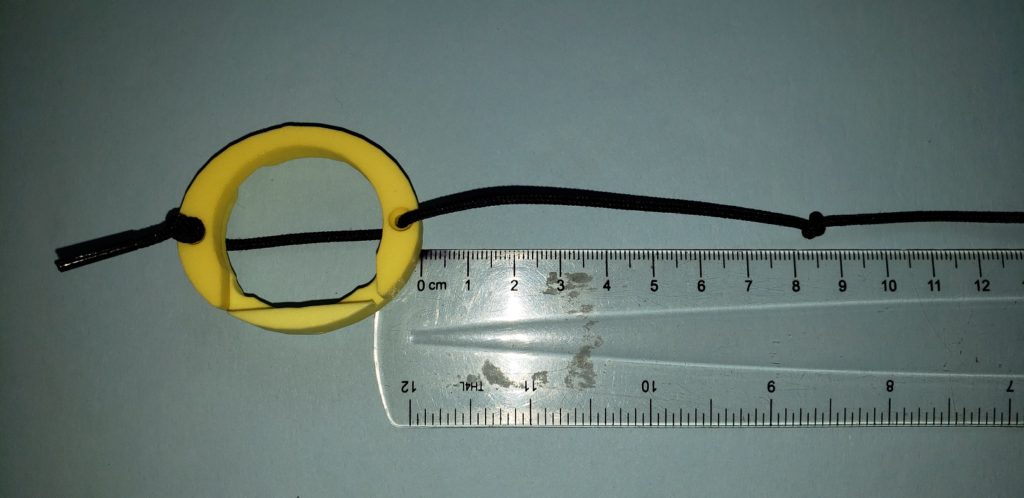
- Thread a shoelace (cord) up through the bottom (the bottom ring has a “large” recess that fits a knot (see steps below) and out the top (of the top ring). Then, thread the shoelace (cord) down through the opposite hole on the top and out the bottom.
- Be sure to NOT pull shoelace all the way though (putting a knot at the end helps prevent this); you need the knot anyway.
- Pull the shoelace tight, and place a second knot along the other end ~8.5 cm* from the edge of the strapping ring [*9.5 cm if you are assembling a Strapping Ring for the larger 27mm MMF system] (see below)
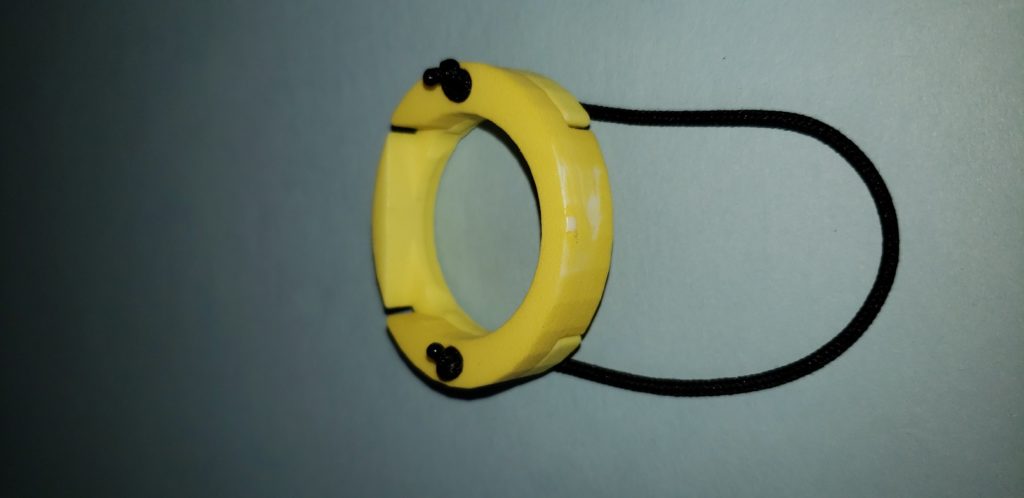
- Cut off the tab on back end of shoelace
- Cut the remaining shoelace (beyond the knot at 8.5cm
- Heat up cut ends (with match, lighter, flame from gas oven) so as to melt the ends [WARNING THAT MELTED AREA GETS HOT SO BE CAREFUL!] (see below; sorry a tad blurry)
- Use a clip to attach the Strapping Ring to the waist, knee or neck (as you prefer)